Episode 4
Master the basics—one shape at a time!
Introduction
Hi everyone, it’s Celine here! Welcome to Episode 4 of SketchUp Made Simple. In this episode, we’ll dive into creating 2D shapes in SketchUp. Whether it’s squares, circles, or custom shapes, mastering 2D is the first step toward building incredible 3D models. Let’s get started!
Part 1: Drawing Rectangles and Squares
Using the Rectangle Tool
- Select the Rectangle Tool from the toolbar or press ‘R’ on your keyboard.
- Click once on the workspace to set one corner.
- Drag your mouse and click again to set the opposite corner.
Creating a Perfect Square
- Select a starting point for your rectangle.
- Before clicking the second point, type the same length and width, separated by a comma.
- Example: 50,50 → Press Enter → Square is created!
- You can also create a larger square by typing a bigger dimension.
- Example: 1000,1000 → Press Enter → Large square appears.
Part 2: Drawing Circles
Using the Circle Tool
- Select the Circle Tool from the toolbar or press ‘C’ on your keyboard.
- Click once on the workspace to set the center of the circle.
- Drag outward and click again to finish the circle.
Creating a Circle with a Specific Radius
- Select the Circle Tool and choose a center point.
- Before setting the second point, type the desired radius and press Enter.
- Example: 10 → Creates a circle with a 10cm radius.
- Example: 100 → Creates a larger circle with a 100cm radius.
Part 3: Drawing Polygons and Custom Shapes
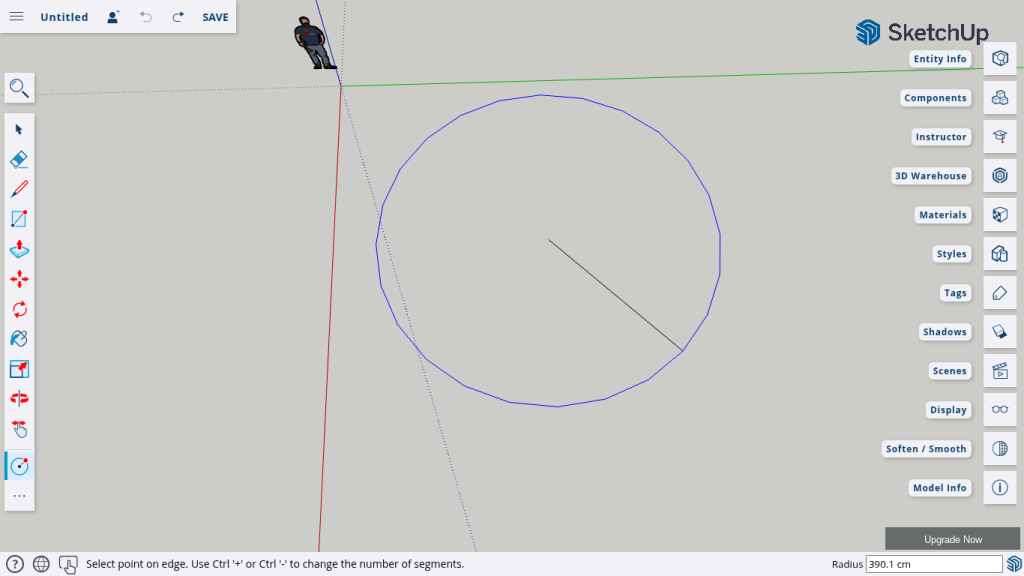
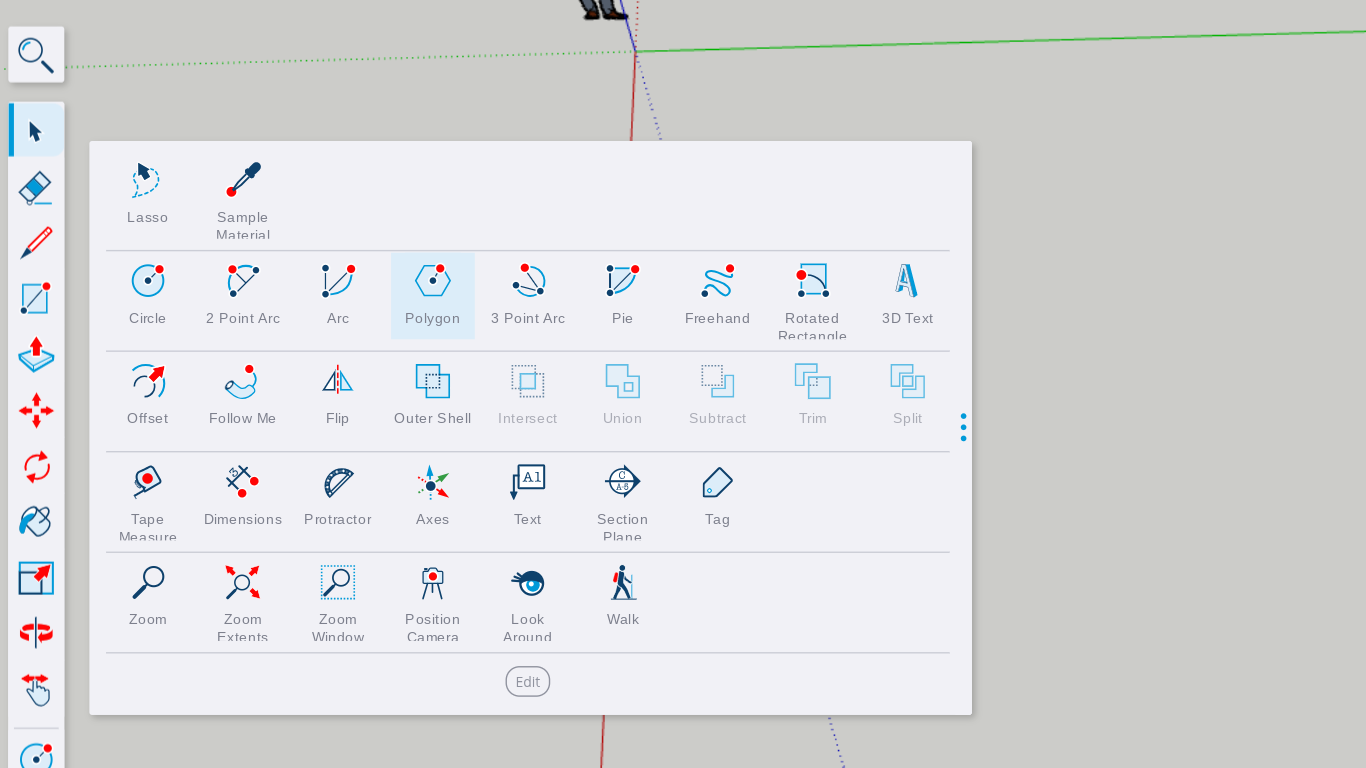
Using the Polygon Tool
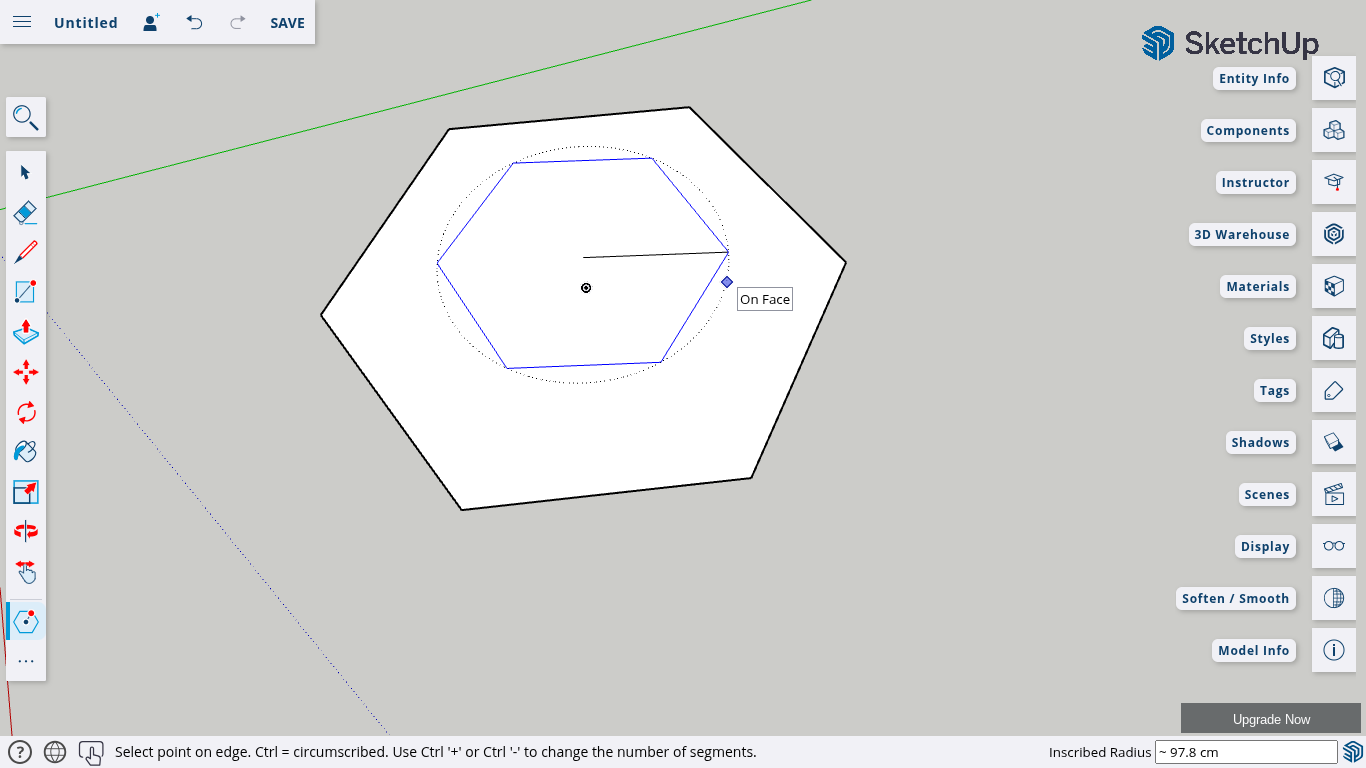
Adjusting the Number of Sides
- Before setting the polygon’s sides, type the number of the size you want your polygon to be.
- You can also adjust the sides using ‘+’ (increase) or ‘-’ (decrease) on your keyboard. (ctrl and + or -)
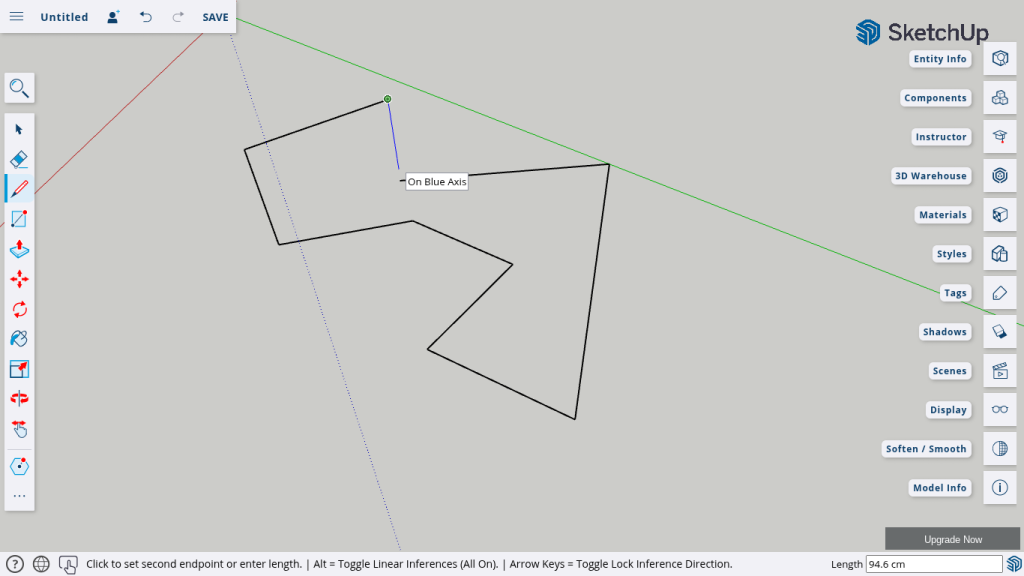
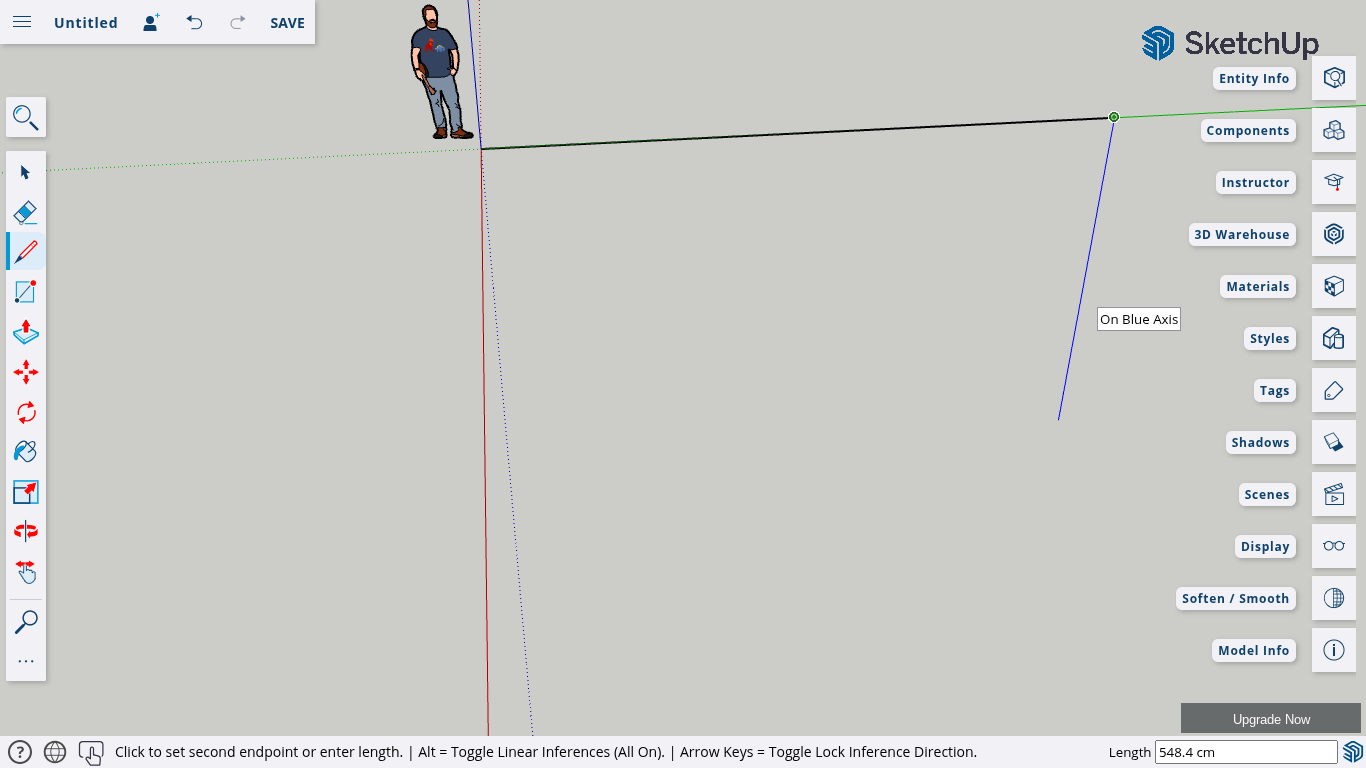
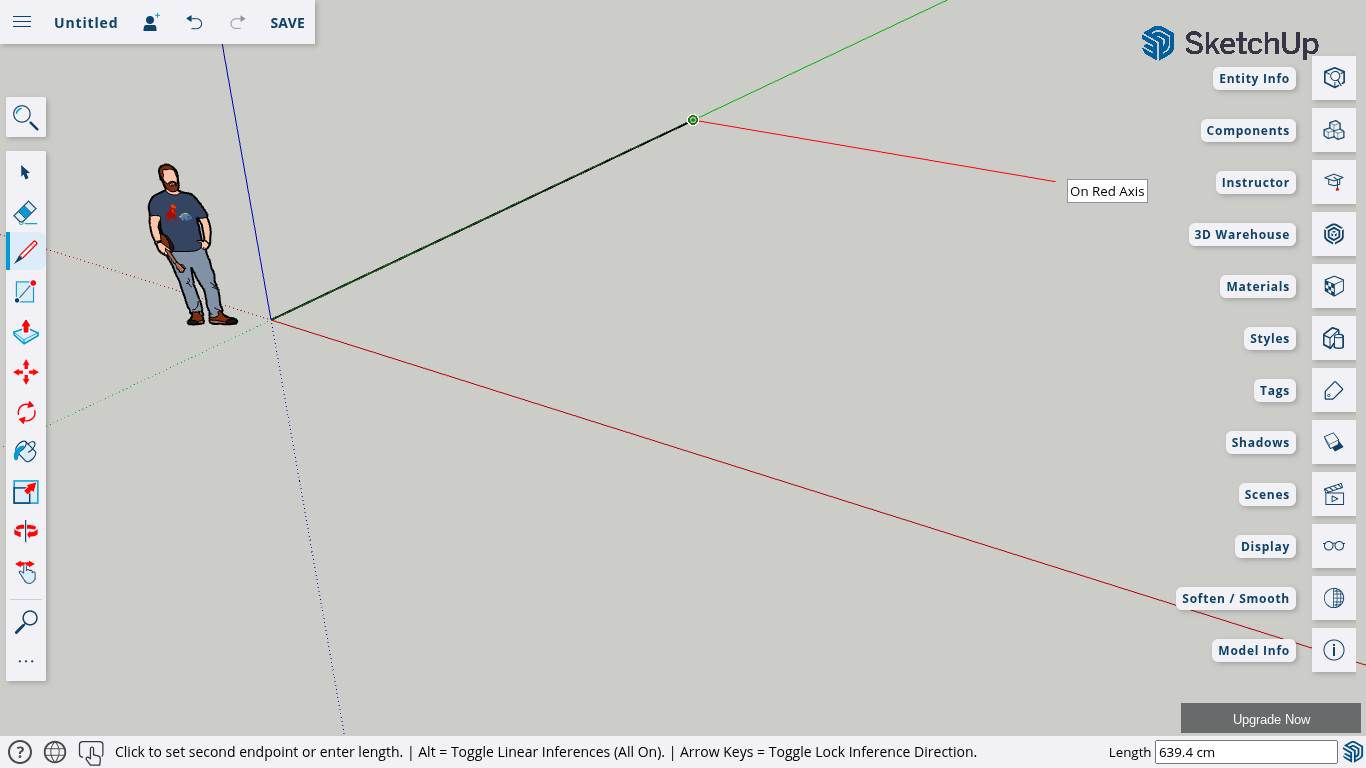
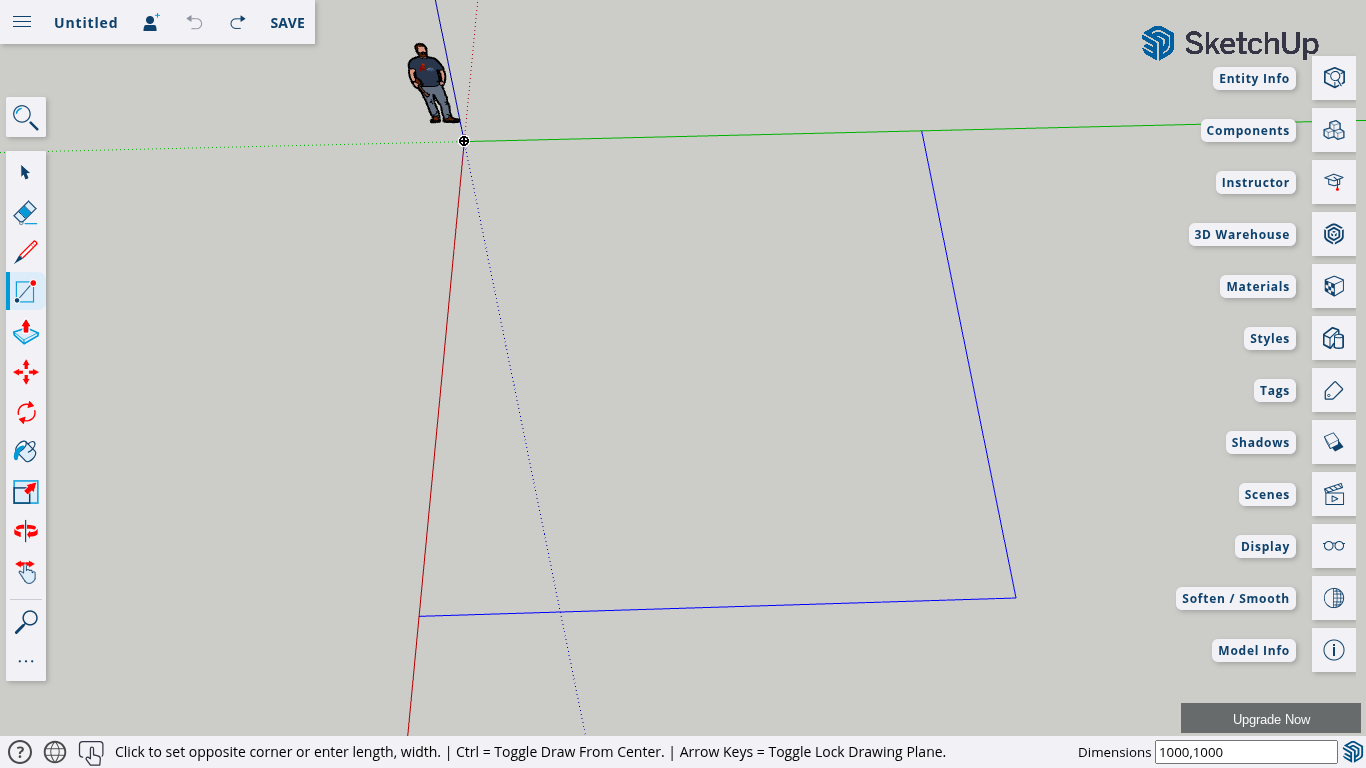
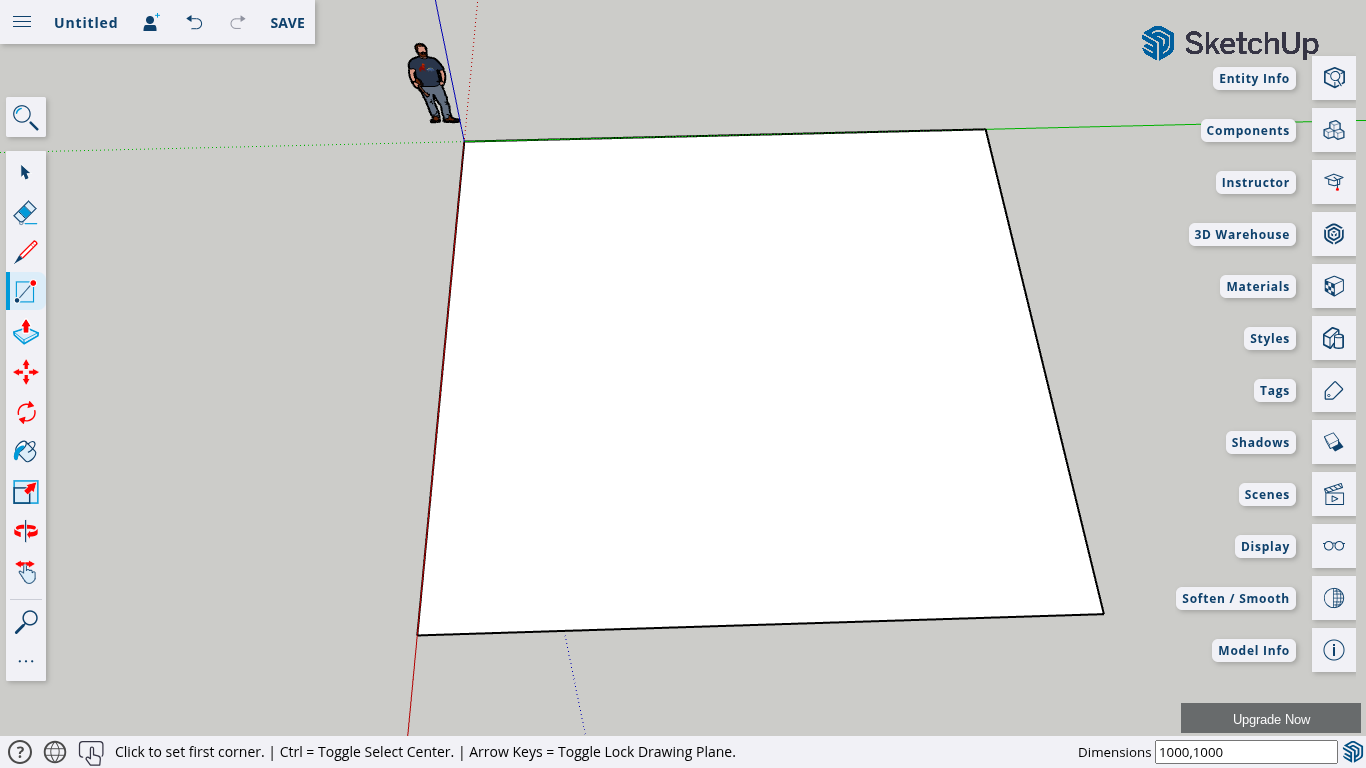
Creating Custom Shapes with the Line Tool
- Select the Line Tool from the toolbar or press ‘L’ on your keyboard.
- Click to start drawing and connect the last point back to the first to complete the shape.
- Custom shapes are great for designing logos, patterns, or unique objects.
Part 4: Editing Shapes with the Eraser & Undo Tools
Using the Undo Command
- Made a mistake? Press Ctrl + Z (Windows) or Command + Z (Mac) to undo your last action.
Using the Eraser Tool
- Select the Eraser Tool from the toolbar or press ‘E’ on your keyboard.
- Click on any line or face you want to remove.
Part 5: Organizing Shapes with Axes
- SketchUp uses three main axes: Red, Green, and Blue.
- When drawing 2D shapes, aligning them with these axes helps maintain accuracy.
- Always check the axis direction when positioning your shapes.
Conclusion
And that’s how you create 2D shapes in SketchUp! Practice drawing rectangles, squares, circles, and custom shapes to build your skills. These 2D elements are the foundation of all 3D designs.
If you found this tutorial helpful, give it a thumbs up, share it with your friends, and subscribe to stay updated for the next episode!


