Episode 14
Master the art of organization in SketchUp by using Tags to keep your designs neat and manageable!
Introduction
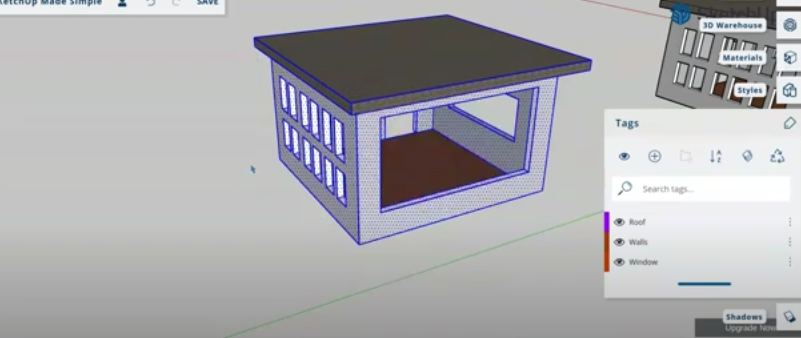
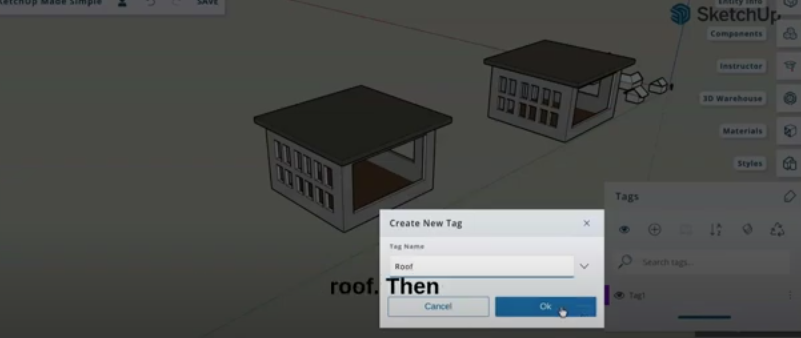
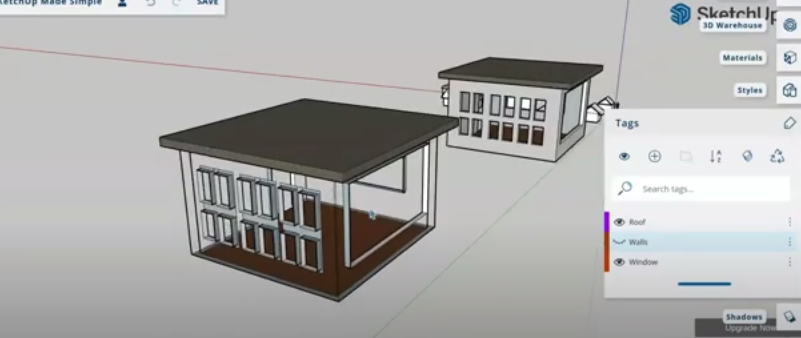
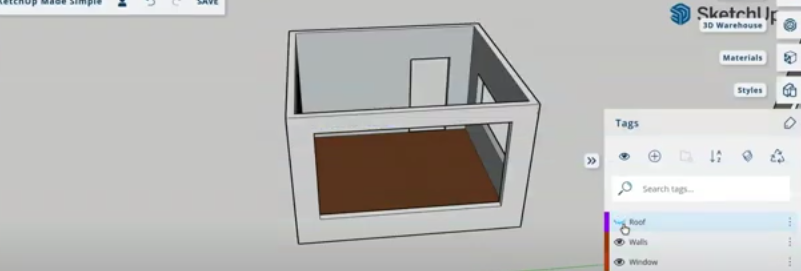
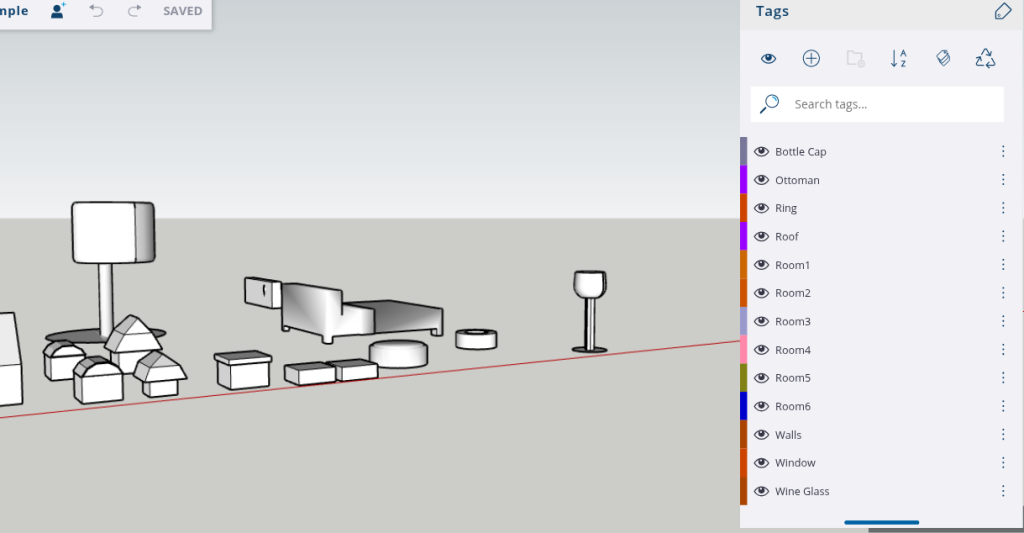
Welcome to SketchUp Made Simple, Episode 14! Today, we’re diving into Tags, one of the most useful tools for keeping your projects organized. If you’ve ever struggled with messy models, this episode is for you. We’ll go step by step on how to create and apply tags in SketchUp, control visibility, and keep your workflow efficient. By the end, you’ll be able to manage complex models with ease.
Creating and Applying Tags:
Step 1: Creating Tags
- Open the Tags section in the right toolbar.
- Click the + icon to create a new tag. For this lesson, we’ll create three tags:
- Roof
- Window
- Walls
Step 2: Assigning Tags to Parts of Your Model
- Select the parts of your model (e.g., the roof, windows, or walls).
- Click on the tag you created and assign it to the selected part.
- You can now toggle the visibility of these parts using the tag icons.
Using Tags for Efficient Workflow:
Hide/Show Parts of Your Model:
- Tags allow you to focus on specific sections of your design. For example, if you want to work only on the roof, you can hide the walls and windows.
- Simply click the eye icon next to the tag to hide or show the tagged element.
Group Similar Parts:
- Tags help group similar elements. For example, create separate tags for each room (e.g., Room 1, Room 2) in a building.
- This is especially helpful when working on large projects.
Why Should You Use SketchUp?
SketchUp empowers you to turn your creative ideas into tangible 3D designs in just a few steps. It’s more than just software—it’s a tool for innovation and visualization. With SketchUp, you can:
Additional Features of Tags:
- Exporting: Tags help with cleaner exports by allowing you to export only the parts that are tagged, avoiding unnecessary clutter in your models.
Hands-On Example:
Let’s apply what we’ve learned using a house model.
Step 1: Create the following tags:
- Roof
- Window
- Walls
Step 2: Assign these tags to the corresponding elements of your house model.
Step 3: Experiment by hiding or showing different tags to see how it helps you organize your workflow.
Conclusion:
Congratulations! You now know how to use tags to keep your SketchUp models organized. Tags are a great way to streamline your workflow, keep your designs manageable, and collaborate efficiently with others. Try using tags in your next project and let us know how it works for you in the comments below!
Don’t forget to like, share, and subscribe for more tips and tricks in SketchUp Made Simple. I’ll see you in the next episode!
Join Us For Episode 15
Start Episode 2 to set up your free SketchUp account and unlock its features.