Episode 12

Build your dream roof with ease—flat or pitched!

Introduction

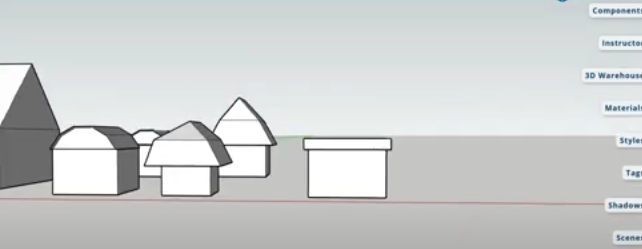
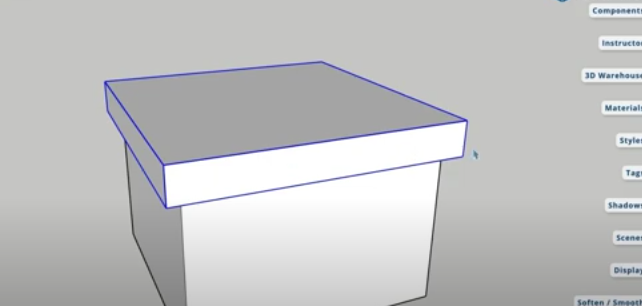
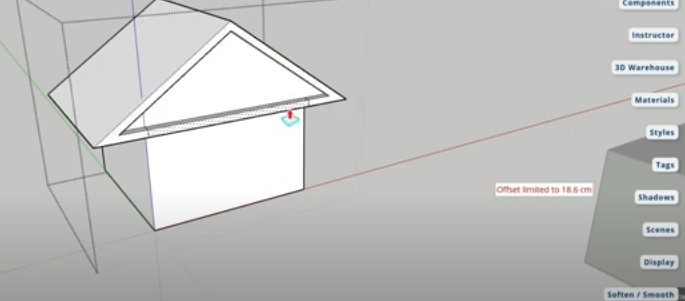
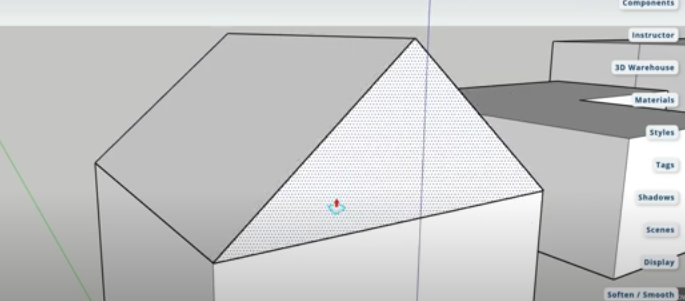
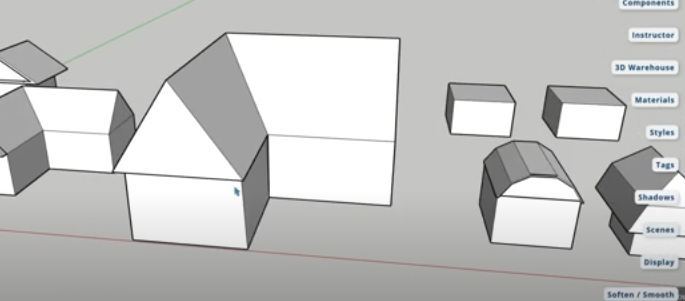
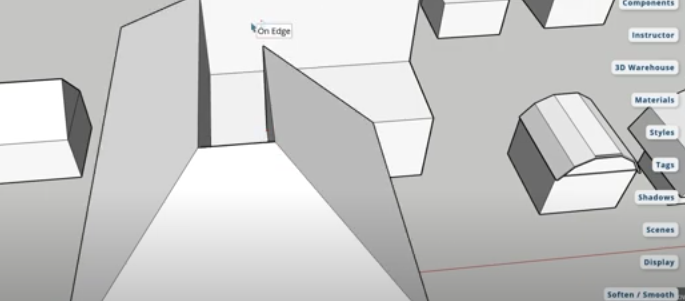
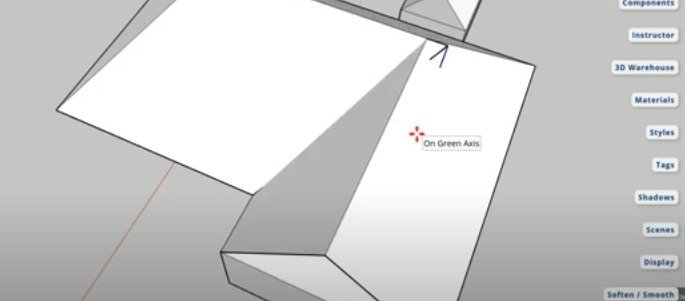
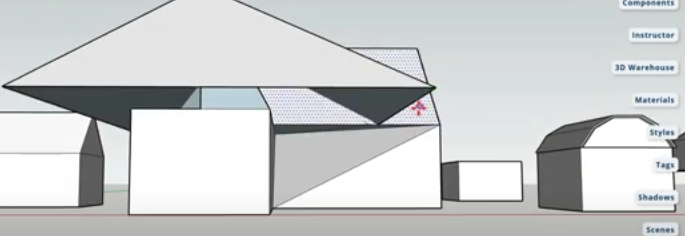
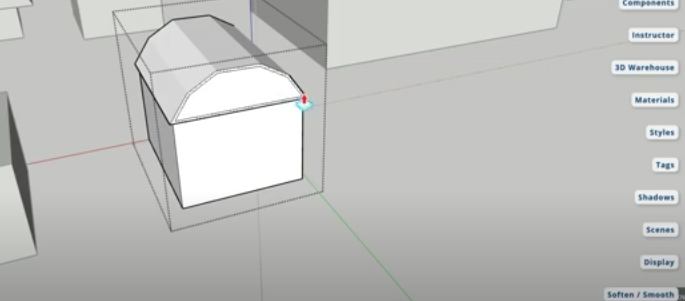
Welcome back to SketchUp Made Simple! In Episode 12, we’ll be diving into creating simple roof designs, focusing on both flat and pitched roofs. Whether you’re designing a small home or a more complex structure, these techniques will help you design professional and precise roof shapes using SketchUp. Let’s get started!

Step 1: Designing a Flat Roof

To begin, we’ll design a basic flat roof. Here’s the process:

  1. Create a rectangular base: Start by creating your house’s floor plan using the Rectangle Tool.
  2. Add a midpoint: Use the Line Tool to trace the middle of your floor plan, then draw a line to set the roof’s height.
  3. Use the Follow Me Tool: Select the Follow Me Tool to extend the roof shape across your layout.
  4. Adjust with the Move Tool: Align the roof edges using the Move Tool for a clean, fit design.
  5. Close gaps: Draw additional lines to cover any exposed gaps in the roof’s design.

Step 2: Designing a Pitched Roof

Next, we’ll move on to creating a pitched roof with simple steps:

  1. Set the foundation: Create your layout and define the middle line as we did for the flat roof.
  2. Draw triangles: Using the Line Tool, create triangles at the edges to form the pitched sides of the roof.
  3. Use the Follow Me Tool: Extrude the roof’s triangular shape across the model.
  4. Refine with Push/Pull: Adjust the height of the roof to the desired level with the Push/Pull Tool.
  5. Finishing touches: Erase extra lines and adjust the structure for a sleek, angled roof design.

Step 3: Working with L-Shaped Houses

When your building design is L-shaped, the roof design requires a few more adjustments:

  1. Trace the midpoint: Use the Line Tool to find and mark the midpoints of both arms of the L-shaped building.
  2. Form triangular sections: Draw half-triangles at each midpoint, then use the Follow Me Tool to form the roof.
  3. Align with the Move Tool: Adjust the roof’s positioning and edges to ensure even coverage for the L-shape.
  4. Fix imperfections: Use the Move Tool again to correct any uneven spots in the roof.

Step 4: Advanced Roof Modifications

If your roof doesn’t perfectly align at first, no worries—this step helps you fix that!

  1. Adjust roof edges: Use the Move Tool to make fine adjustments to the roof parts.
  2. Check alignment: Move each section of the roof to achieve the desired shape and coverage.
  3. Hide extra lines: Clean up your model by hiding or erasing unnecessary lines to get a polished look.

Step 5: Exploring Unique Roof Styles

In this final step, we’ll explore different roof types for more creative designs:

  1. Create a barn-style roof: Learn how to use polygon shapes and the Offset Tool to create this unique roof.
  2. Add custom angles: Use the Line Tool and the Move Tool to form angles for your roof design.
  3. Finish with the Push/Pull Tool: Adjust the roof height and tweak the shape to fit your design needs.

Conclusion

Congratulations! You’ve now mastered the basics of designing both flat and pitched roofs. Whether you’re designing a simple house or exploring more advanced techniques, these skills are essential for creating realistic models.

📢 Enjoyed this lesson? Like, share, and subscribe for more SketchUp tutorials! Stay tuned for Episode 13!

Join Us For Episode 13

Start Episode 2 to set up your free SketchUp account and unlock its features.