Episode 10

Getting Started with SketchUp: Your First Steps in 3D Design

Course Overview

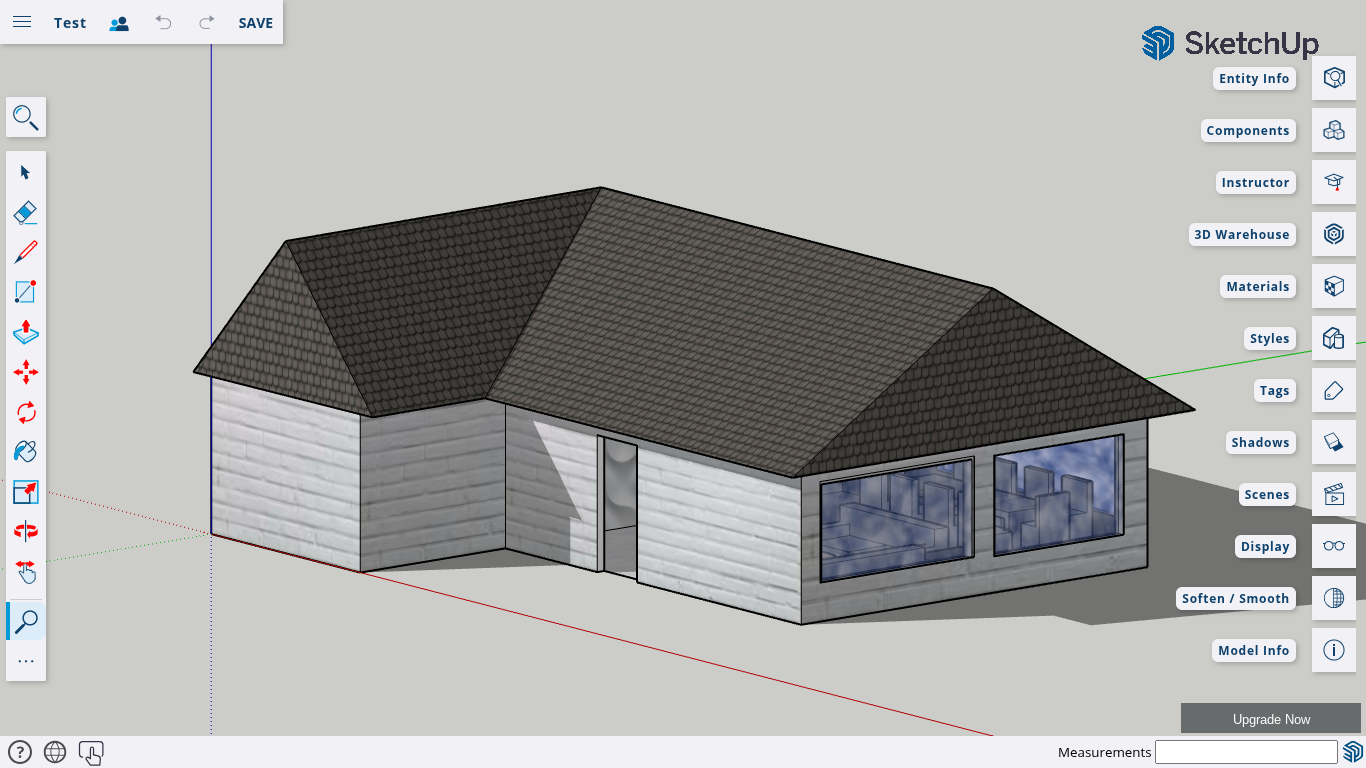
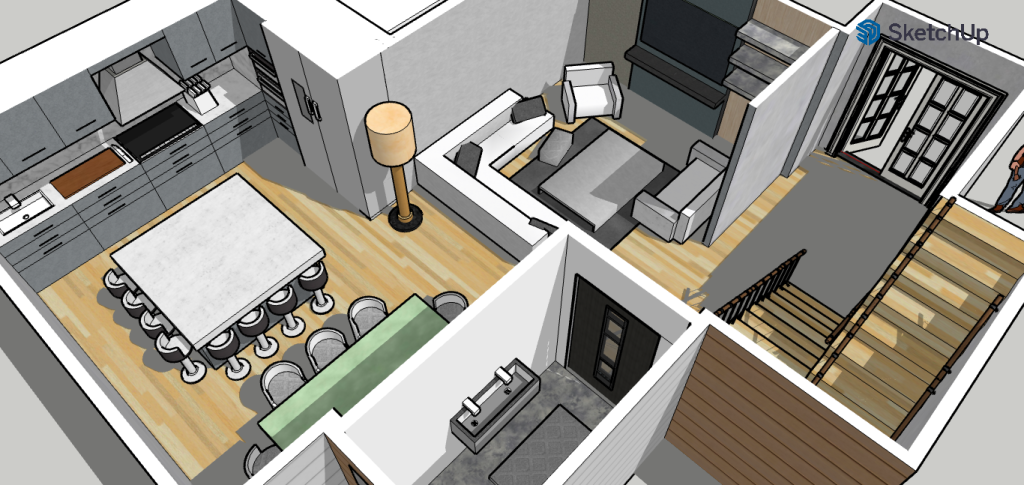
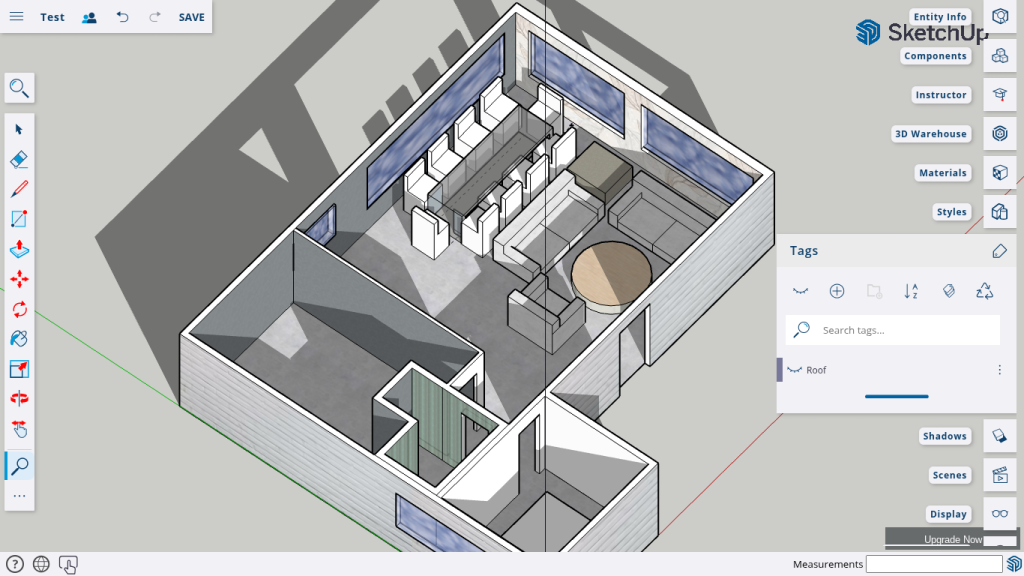
In this lesson, we will focus on creating and using groups in SketchUp to keep models organized and improve workflow efficiency. As a practical exercise, we will design a simple two-bedroom, single-story house in just 20 minutes to demonstrate how grouping can speed up modeling.

Learning Objectives

By the end of this lesson, you will be able to:

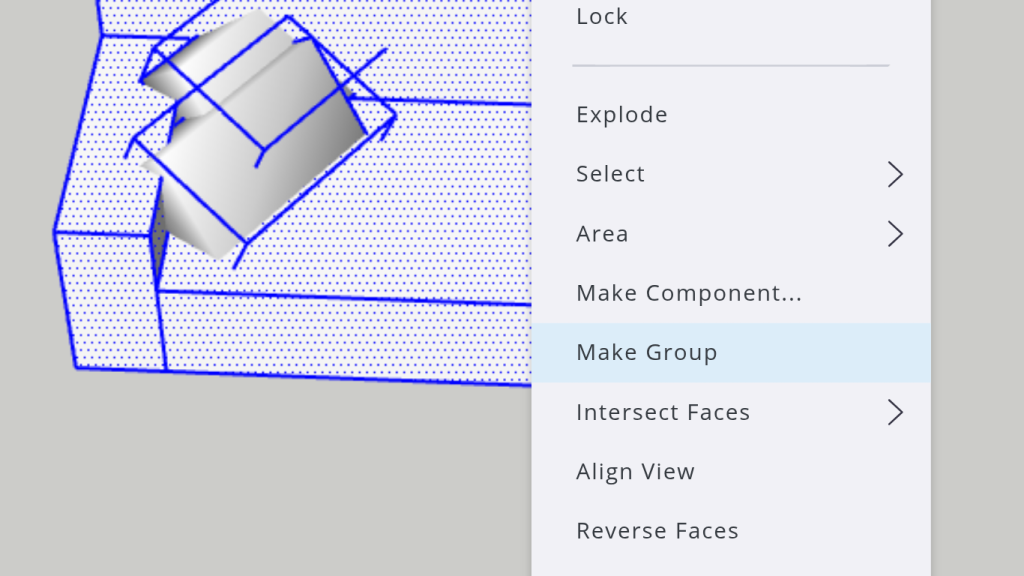
  • Understand the importance of grouping in SketchUp.

  • Apply groups to different components of a model.

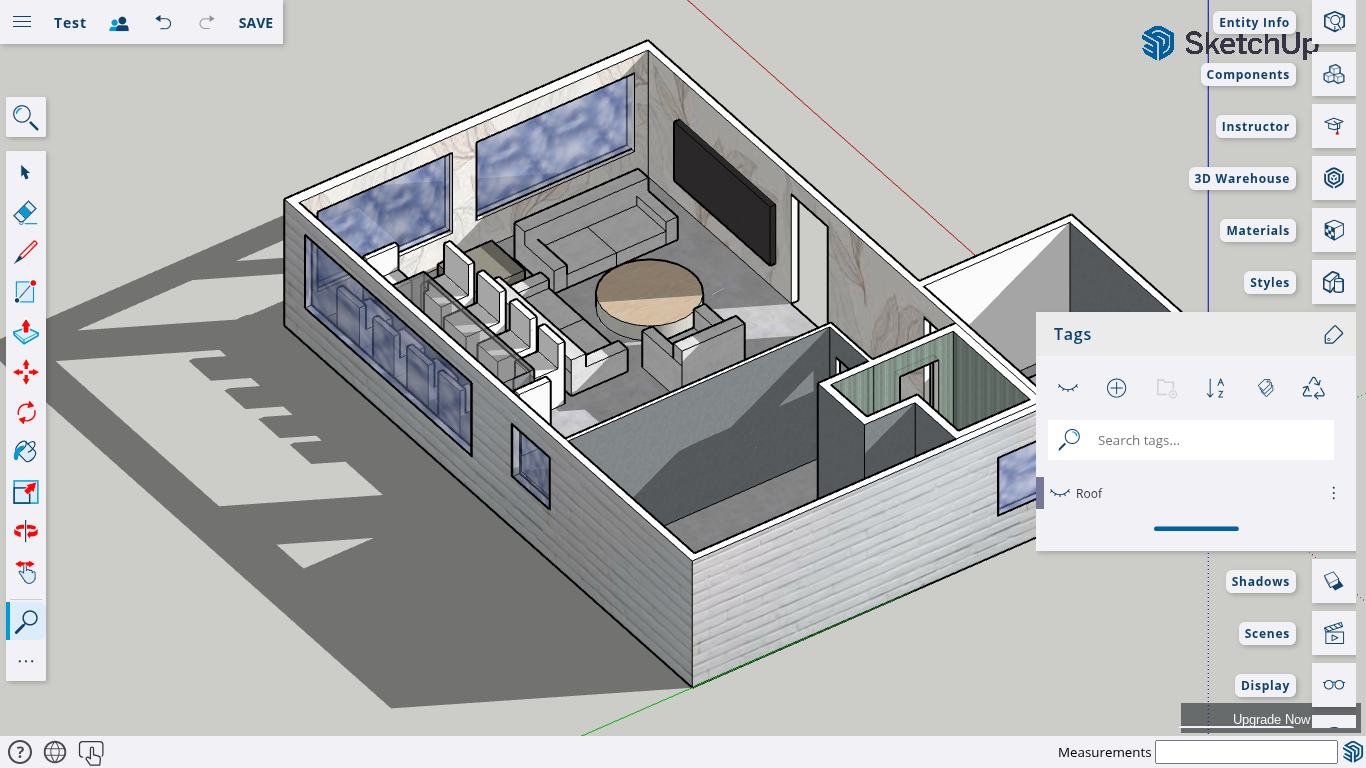
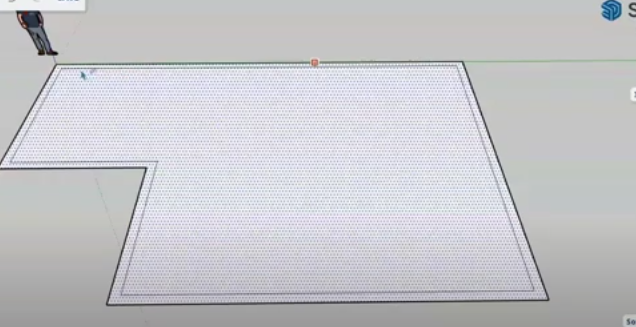
  • Design a basic floor plan efficiently.

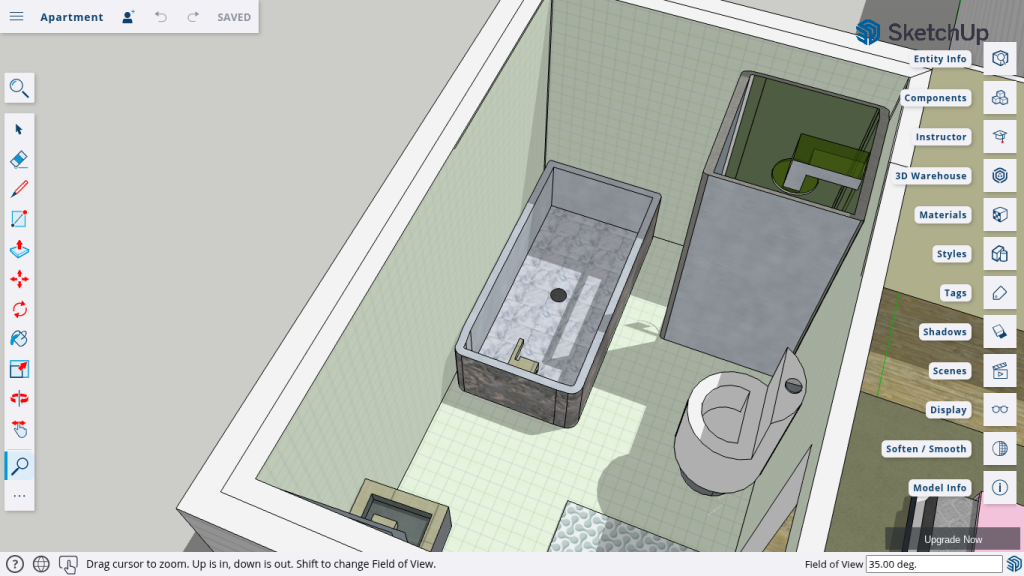
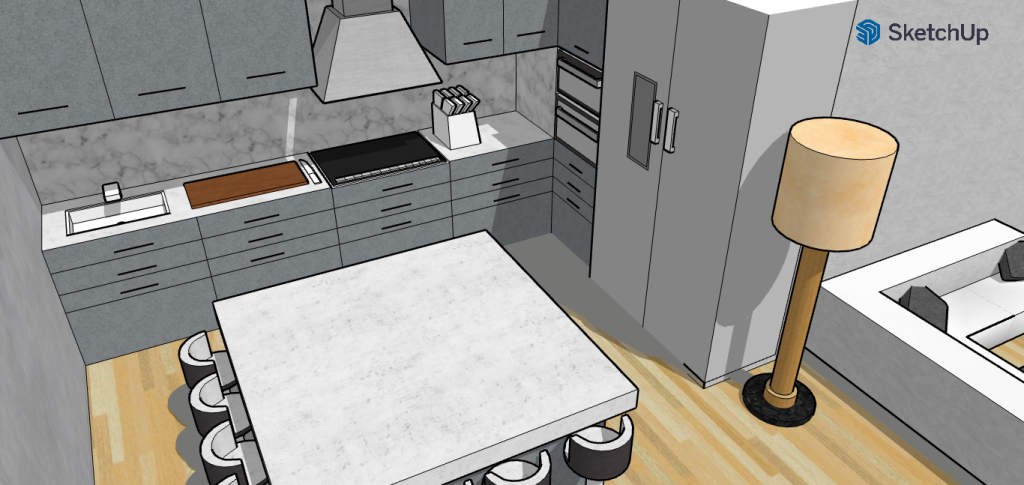
  • Utilize SketchUp tools to create simple furniture and interior elements.

Lesson 1: Introduction to Grouping in SketchUp

Why Use Groups?

Grouping in SketchUp prevents different parts of your model from merging together, making it easier to:

  • Move objects without affecting other parts of the model.

  • Edit components individually.

  • Maintain a clean and structured workflow.


Lesson 2: Setting Up the Floor Plan

Step 1: Start the Timer

To emphasize speed and efficiency, we will complete this challenge within 20 minutes.

Step 2: Import or Draw the Floor Plan

We will use a two-bedroom single-story house floor plan as our reference. If you have a floor plan image, import it into SketchUp as a guide.

Step 3: Outlining the Floor Plan

Use the Line Tool and Rectangle Tool to trace the walls and layout of the house.

  • No exact measurements will be used in this challenge.

  • Adjust lines as needed using the Move Tool.

Lesson 3: Creating the House Structure

Step 4: Creating the Walls
  • Offset the outer walls to a reasonable thickness.

  • Push/Pull the walls to create height.

  • Use the Eraser Tool to remove unnecessary lines.

Step 5: Adding Doors and Windows
  • Use the Rectangle Tool to mark window and door locations.

  • Push/Pull to create openings.

  • Adjust sizes as needed.


Continuation

SketchUp empowers you to turn your creative ideas into tangible 3D designs in just a few steps. It’s more than just software—it’s a tool for innovation and visualization. With SketchUp, you can:

Step 7: Creating the Dining Area
  • Model a rectangular dining table.

  • Use the Group Tool to separate chairs and tables.

  • Copy and paste chairs around the table.


  • Create beds using the Rectangle Tool.

  • Add side tables and other furniture.

  • Use simple rectangles and push/pull to create a sink, cabinets, and kitchen layout.

  • Apply grouping for each furniture set to keep them modular.

Lesson 5: Finishing Touches

Step 10: Coloring and Texturing
  • Use the Paint Bucket Tool to apply colors.

  • Keep the textures simple due to time constraints.

Step 11: Final Review
  • Ensure all objects are grouped properly.

  • Test moving grouped objects to see how they function.

  • Check for alignment and adjust where needed.

Conclusion

In this lesson, we demonstrated how much can be accomplished in just 20 minutes with proper grouping and organization. Using these techniques, you can improve your SketchUp workflow and create more complex models efficiently.

In the next episode, we’ll dive deeper into components vs. groups and explore more advanced techniques for structuring models. See you in Episode 11!

Join Us For Episode 11

Start Episode 2 to set up your free SketchUp account and unlock its features.