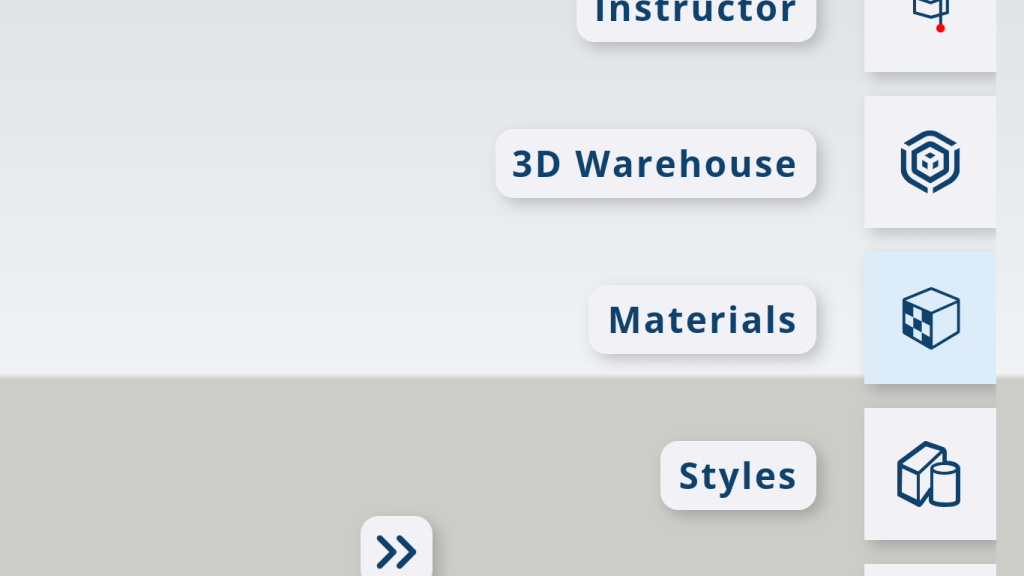
Introducing the Paint Bucket Tool:
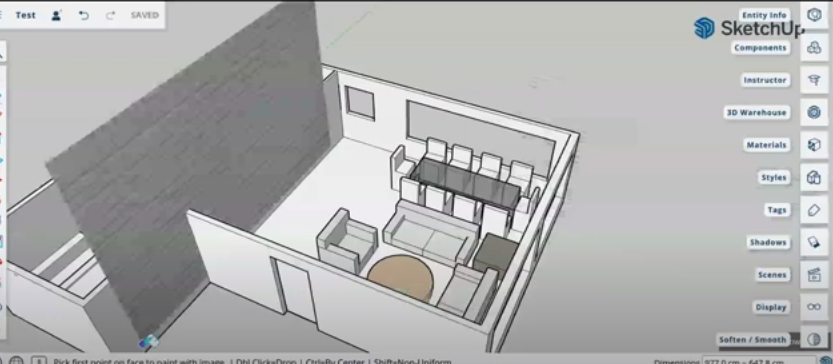
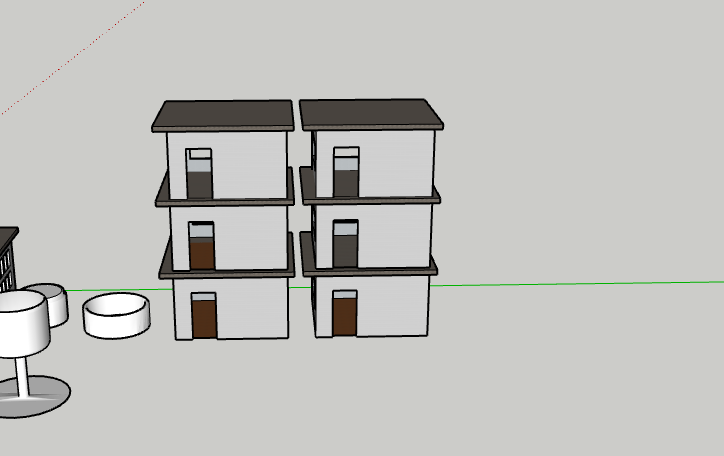
Applying Colors and Textures:
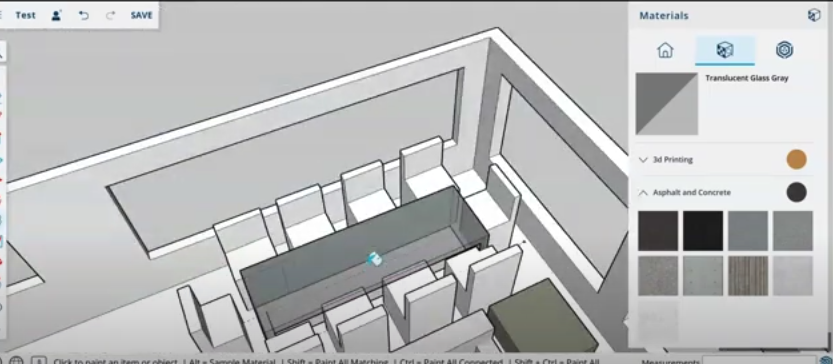
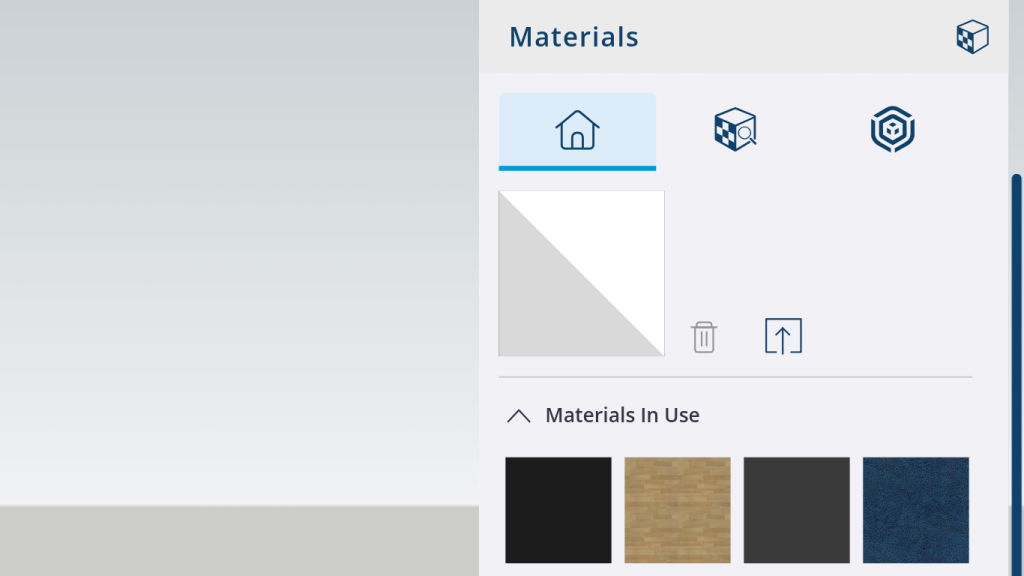
Creating and Using Custom Materials: